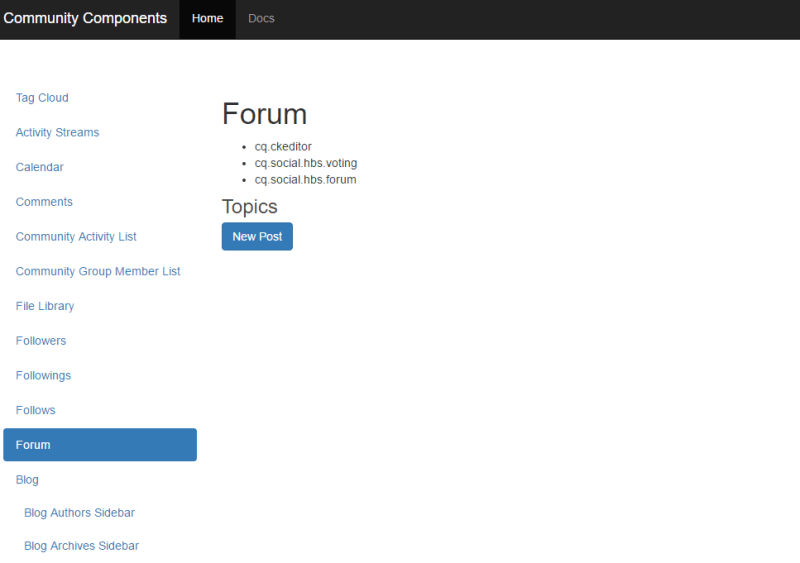
AEM Communities provides the ability to quickly create an on-premise community site that has improved performance, improved site management, and encourages the conversion of site visitors to valuable community members. It simplifies the creation and customization of community features such as forums, user groups, blogs, Q&A, calendars, comments, reviews, voting, ratings, and assignments.
Though OOTB components can fulfill our needs up to an extent but more often than not, we need to create our custom social components.
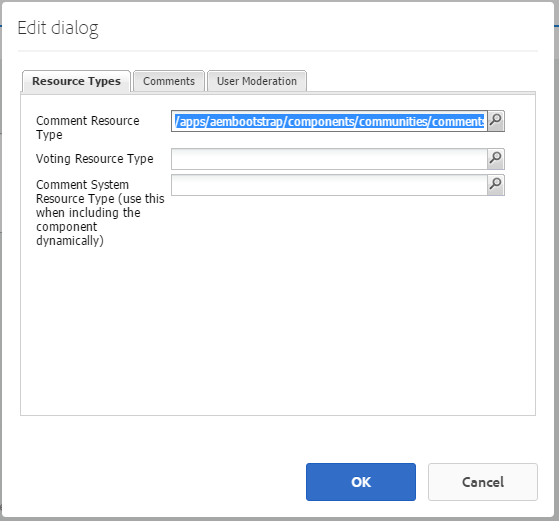
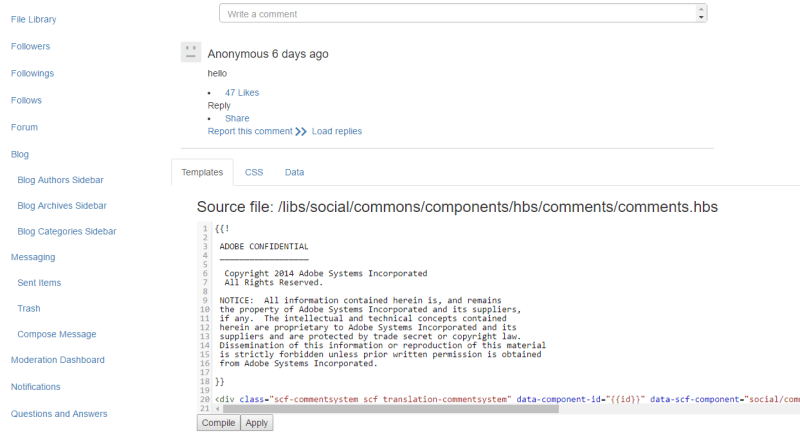
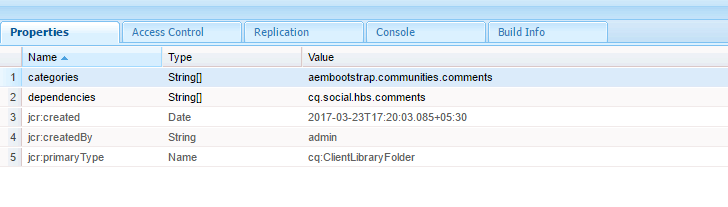
The foundation of a community site is SCF (Social Component Framework). It simplifies the process of configuring, customizing, and extending Communities components on both server-side and client-side. If we need only the UI changes ( Look and feel, skinning related changes), that can easily be done by overlaying the component and modifying the CSS/JS. But if we need to add some custom functionality which is not available in the OOTB component, then we need to add the custom java classes based on our requirement.
Documentation has clearly mentioned the importance of certain java classes and interfaces. Few of the important ones are listed below:
- SocialComponent Interface : SocialComponents are POJOs that represent a resource for an AEM Communities feature.All business logic and view logic is encapsulated in the SocialComponent, including the site visitor’s session information, if necessary.
- SocialComponentFactory Interface: A SocialComponentFactory (factory) registers a SocialComponent with the framework. The factory provides a means of letting the framework know what SocialComponents are available for a given resourceType and their priority ranking when multiple SocialComponents are identified.
- PostOperation Class: The PostOperation endpoint implementation sets
sling.post.operation to a value to which the operation will respond. All POST requests with an :operation parameter set to that value will be delegated to this implementation class.The PostOperation invokes the SocialOperation which performs the actions necessary for the operation.
- SocialOperation Class: The class performs all the actions expected from this operation class.
- OperationExtension Class: OperationExtension classes are custom pieces of code that can be injected into an operation allowing for customization of operations to meet business needs.
I have created an Ideation component based on the Adobe recommendation. You can find it in the Github repository here.
Feel free to comment if you face any issues. 🙂
References :
https://github.com/Adobe-Marketing-Cloud/aem-scf-sample-components-extension
https://docs.adobe.com/docs/en/aem/6-1/develop/communities/scf/server-customize.html
https://docs.adobe.com/docs/en/aem/6-1/develop/communities/scf.html
Hope it helps !! 🙂